MENU
|
Getting Started:
FAQ | Forum
Customizing K2PDFOPT:
Adjusting the output:
Processing Options:
|
|
| |
SETTING ENVIRONMENT VARIABLES IN LINUX
This page shows how to set an environment variable in linux, specifically the TESSERACT_PREFIX variable in the example, but any number of other variables (e.g. K2PDFOPT) can also be set. For more on getting started with k2pdfopt in Linux, see my Linux help page.
NOTE: For instructions on setting the environment variable in Windows 7, see this page.
For how to set an environment variable in OSX, try this page.
SETTING THE TESSDATA_PREFIX ENVIRONMENT VARIABLE IN UBUNTU
Ubuntu has a file called .pam_environment in each user's home folder that is specifically intended to hold environment variables. It is not a script file. You can add an environment variable to it as follows:

You will have to logout and then log back in again for the settings to take effect.
SETTING THE TESSDATA_PREFIX ENVIRONMENT VARIABLE IN GENERIC LINUX
1. Press <Alt>-F2. This will bring up the "Run a command" prompt. At the prompt, type: /usr/bin/gnome-terminal and press <Enter>:
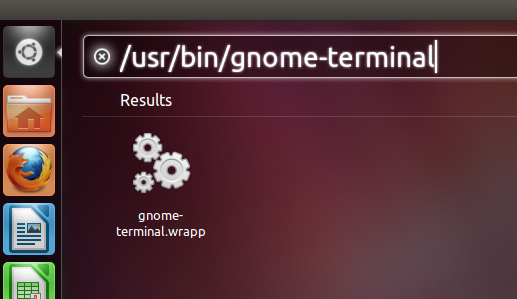
2. Inside the terminal window, follow the directions below.

3. You may have to logout and then log back in again for the settings to take effect.
|
|
|
|